Or should I have said “I am an egg man”?
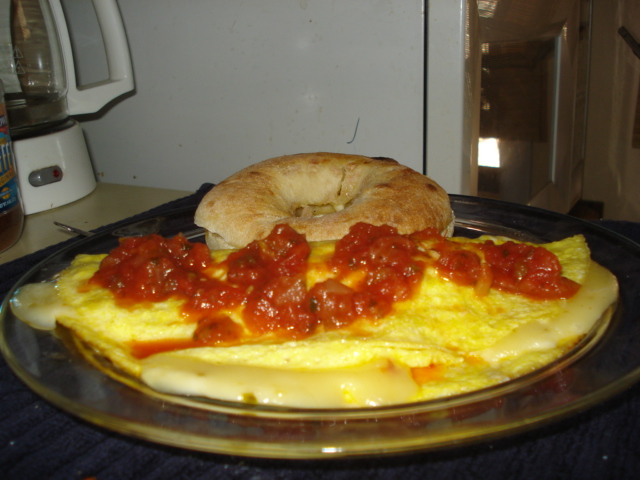
Since the PiercingKen blogsite is often about some of the kitchen skullduggery that I involve myself in, I decided to invite you all over for breakfast. Well, in a manner of speaking that is. It was Saturday and the day before Easter and I was not only hungrier than usual for this kind of morning but I also felt like putting a bunch of stuff together and work out a recipe for you all to potentially enjoy. Sadly, I had not thought of taking individual shots of each and every ingredient this time around because not only have I done that before, but how exciting are shots of chopped up stuffs anyway. My goal this morning was to fix up a great omelet and I just love the things in all honesty. Write this down for reference okay? This one used three medium sized eggs, some sliced pepperoni, chopped up mushrooms, pepper jack cheese and salsa (of the medium hotness). I will type out the steps I took after you enjoy the yummy photos. Here is the final result on the plate with a tasty onion Bialey. Looks good right?

Here’s a shot from the side of the plate. I could not wait to sink my fangs into this one and finish enjoying the non-pictured but massive cup of coffee I had made. This was clearly going to get me prepped for the evening’s Metal show. In order to learn about that you will have to monitor my Official PiercingMetal Musings Blog (which I think a lot of you are doing as well).
OK so now the steps. For this particular omelet I used three medium sized eggs as opposed to two jumbo ones, and once they were nicely blended together I toss them into the medium pan. A small pat of butter was added for good measure.
After about thirty seconds of this cooking in the pan I tossed the chopped pepperoni, mushrooms and the cheese right on top to cook a little deeper into the eggs. Then the tricky part of flipping it was done but as you can see in the image I did alright this time. Figures on a day without company it comes out perfect. The insides were nice and cooked and the cheese super gooey.
This was the perfect fuel for the later evening Metal show that I would be seeing. That’s all I have for you now though. Back to your day you go.
Tag Archives: kens kitchen
Cooking Up Some “Extreme Baked Potatoes”
This one was pretty easy and I decided to share the concoction with you all based on my just chilling out one evening and feeling like cooking up something tasty and relatively quick. I love baked potatoes, and I also love “amping them up” or making the eating experience a little bit more Metal. This is a simple one and I didn’t photograph it in a step by step fashion since there was no need to.
Ingredients:
2 reasonably sized Idaho Potatoes (I used two smaller ones since I am trying to watch what I eat every now and again).
4-6 wedges of cheese. For this experience I used both a Sharp Cheddar and a Pepperjack Cheese. The latter one has a nice little kick to it that is wonderful.
6-8 Jalapeno Peppers
2-4 Pepperoncini Peppers
4 slices of smoked kielbasa
4 slices of pepperoni
Salsa of Choice (mild, medium, or hot). I went with Medium. I find the brand I use perfect for this. Their hot is too much so and their mild is in a word, lame.
The Steps:
First bake the potatoes. I use the setting on my microwave and that takes no more than 3 or 4 minutes to get them done. Then let them sit a moment so you can handle them easily. You obviously should thoroughly wash the potatoes and poke them a couple of times with a knife before putting them into the micro.
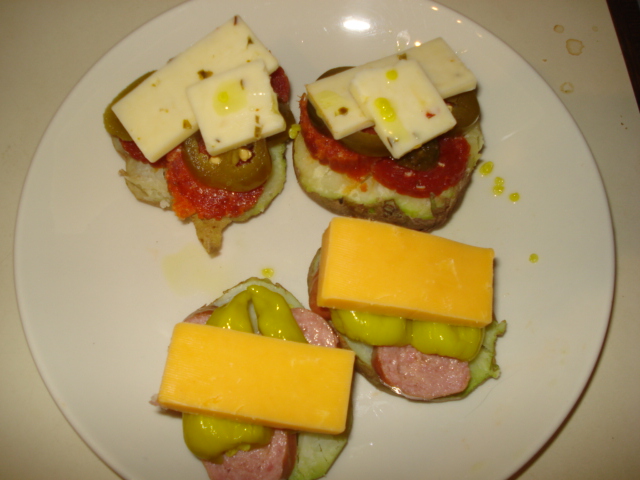
The rest is pretty easy and just a placement project. I technically made two different kinds of this recipe today and had the kielbasa, pepperoncini, and cheddar cheese on one while the other had the pepperoni, pepperjack cheese and jalapenos. One of these was much hotter than the other. Can you tell which one?
This is a slightly different angle of the whole shebang before I nuked it a little more. I didn’t take a photo of the final product but it pretty much looks the same as this. Only much gooier.
After they are melted to your preference you can put the salsa on the top of them. I don’t melt the cheeses with that on the top and opt to wait until it is finished and ready to be served. That’s all, this takes about ten minutes in total and depending on how many people you have hanging out is how many you will need. This could be considered a two person nosh since we made four individual segments of it. Give it a try.
Foodtastic: The Ungrilled Cheesy Sandwich
I’ve been meaning to post this simple little recipe for a quick comfort grilled cheese sandwich which in all honesty is not grilled at all and more melted to achieve its effect. I started making them like this to avoid the extra intake of excess butter or cooking oils. That’s no good for you if overdone after all. Sharing this one with you was based on one of my friends posting on her Facebook how much she loved grilled cheese sandwiches so now the rest of you readers benefit. Let’s begin.
We are starting with a couple of pieces of white bread but these days I have opted to use something a little healthier like a whole wheat or seven grain bread. It surely adds to the taste and if you want to be brave go with pumpernickel.
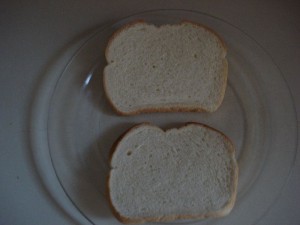
Once toasted we move over to the toaster oven. I hope you have one of these as otherwise the rest of the recipes steps are kind of useless to you. You CAN use a microwave but that is just not the same in my humble opinion. Of course you can try and let us know how you made out with the comments section. We’ll leave the kitchen light on for you.

For this recipe I decided to use some spicy brown mustard. I like a little kick to my food and you can also use a good hot sauce (not the pepper water that is often sold as the stuff) for a different vibe to the fun. Since I had the Gulden’s stuff in the house I went that route.

Lay a few slices of American cheese on each slice of bread. I went with two for each side as that was going to be more than enough. My goal is to eat and not overdo it and we still had some ingredients to go.

As I assembled my working area I noticed I still had some mozzarella cheese and I wanted to put it to good use. I sliced it up nice and thin and applied to the top of the slices of American cheese.

Now we’ll put the tray back into the toaster over and click the toast button which should run for about a minute on a standard device. You need to stick around for this since its a very quick process and you don’t want to burn your sandwich. Once melted it looks like this if you didn’t over melt and its quite visually appealing. We’re almost done.

I mentioned loving some spice so I took some whole pepperoncini and sliced them into halves. For this particular sandwich I only used one larger pepperoncini as it was more than sufficient. If they were smaller you could surely use a couple of them or even try out some Jalapeno peppers. Mind you that I have NOT yet tried those on this but it would probably work out fine.
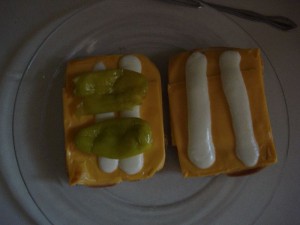
Take the whole thing and put them together and press lightly so these two sides of cheese meet and connect. We’re still working with some hot stuff so that should happen with no incident. Doesn’t look too bad in the end right? I know that I was happy with it.

Now it’s time to eat and you can serve this with a sour pickle and some chips or perhaps pretzels. Total preparation time is less than ten minutes if you need an exact count and that is great. It’s also easy to clean up after this one.
Ingredients Used:
Sliced Bread
Sliced Cheese
Sliced Mozzarella
Slicked Pepperoncini
Spicy Mustard
Foodtastic: Fish Tacos (Well, In A Manner Of Speaking)
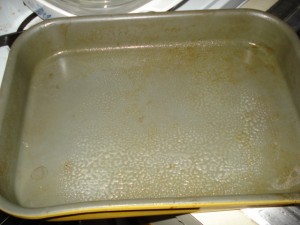
Welcome to another adventure in the Kitchen With Ken and this time around I was in the mood for something akin to fish tacos. I’ve long been a taco fan but only ever had a fish taco when I went to an area McCormack and Schmidicks restaurant for their Happy Hour. The particular concoction from the kitchen of PiercingKen is probably only a fish taco in name based on the overall difference. The rationale behind this was to use some stuff in the fridge so it would not go bad and had a little bit of an idea to make my own little treats. So wash your hands and help out as I take you through this one, I promise to be brief since this was on the easy side. You will first need a small pan to bake some of our fish products in.
Continue reading Foodtastic: Fish Tacos (Well, In A Manner Of Speaking)
Foodtastic: Baking Some Brooklyn Pita-za
Growing up in NYC, one of the delicacies that I have almost always found favor in is good old fashioned pizza. In my eyes its one of the truly great pleasures in life and its magic is all based on a very simple recipe with only a few ingredients. I’m located in Brooklyn and have sworn allegiance to no less than ten pizzerias over the course of my life but sadly many of them have gone away due to retirement or even worse after new owners took over and made a mess of the formula that worked best for the establishment. When that becomes the case I always cross my fingers that a new and appetite pleasing place will come along. In a pinch you can opt for either Dominos or Papa John’s but to the conventional Brooklynite, these are not really what we are looking for in pizza. I prefer the quick fix of a traditional pizzeria over them anytime. That leads me to the recipe being discussed in this segment of my “Kitchen With Ken” blogs as it’s a pizza concoction that goes a little outside of the normal process but still comes out good at the end. Well. I like it at least and have made it for years. I felt the best name for it would be “PITA-ZA” since we use pita bread instead of dough but everything else is generally found on “normal pizza”. Let’s begin.
Required Ingredients:
1 medium sized piece of pita bread. You need to go to an authentic Middle Eastern bakery or produce store to find the differently sized ones as opposed to the mass market package of ten that are all perfectly sized and the same (unless you really want those and feel like cooking for a few people).
– 1 section from a garlic clove. I just love fresh garlic so we will be using this puppy.
– 2 or 3 pepperoncini (they often come in a jar of many and look like mini bell peppers but they have a chili pepper kick to them). You can also use plain sliced green, red or yellow peppers if you feel like it. They work out also.
– 2 or 3 decent sized mushrooms. Remember that we are only discussing how to one serving.
– 1 small can of tomato sauce (you will not use the whole can for this).
– 5 or 6 slices of pepperoni (or sausage, meatball, tofu). Slice these things thin.
– Mozarrella cheese.
Tools: A toaster oven and about ten minutes.
First Step:
Take your pita bread and pour some of that tomato sauce on it but not too much since it will likely spread out while its cooking/baking in the toaster oven. I like to sprinkle on some oregano and also the garlic that I mentioned we would need for this. Depending on your taste, don’t overdo the garlic.
This particular recipe was using pepperoni and I think its much better to add this right on top of the sauce and then putting the cheese on top of that with the mushrooms and peppers. It lets those ingredients act as a bit of a blanket to the other stuff. Of course as you can see in the provided photo, for this time around I decided to add the peppers in before the cheese as well.
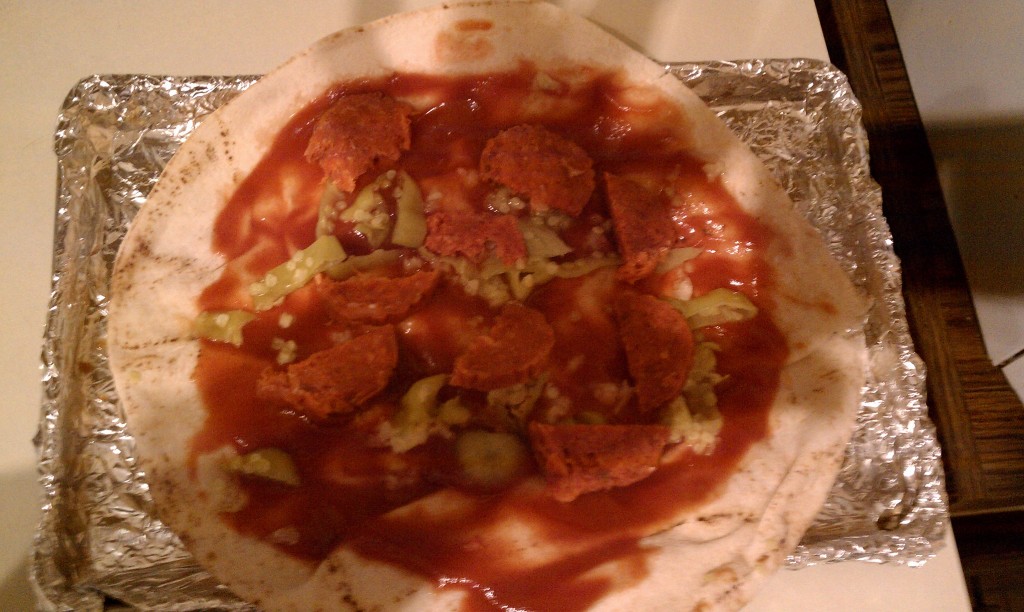
The shot above shows our already covered in sauce pita bread since I did not take a lot of pictures of the preparation process. I didn’t think that it was necessary for this little episode. I didn’t grate the cheese and instead opted to slice it into smaller chunks and position them accordingly. It worked for my purposes as you can see in the upcoming pic.
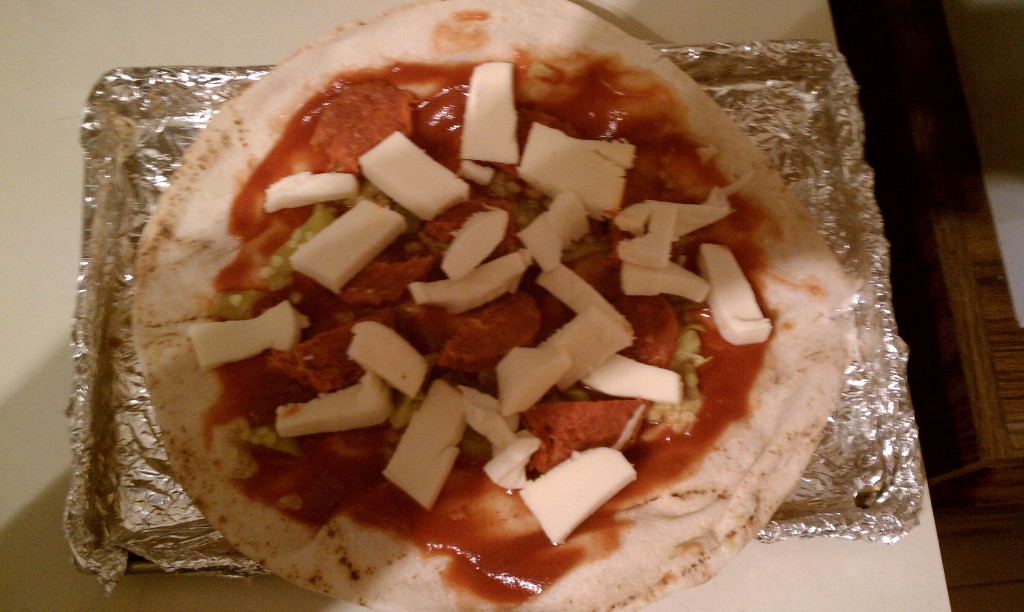
Second Step: Add the mozzarella cheese. You can also season it up a little more and let it bake with the optional hot pepper or garlic powder. I mentioned needing some fresh garlic so you can also slice that fine and scatter it about the pita bread. Not too much of course as you don’t want to breath fire after you eat.
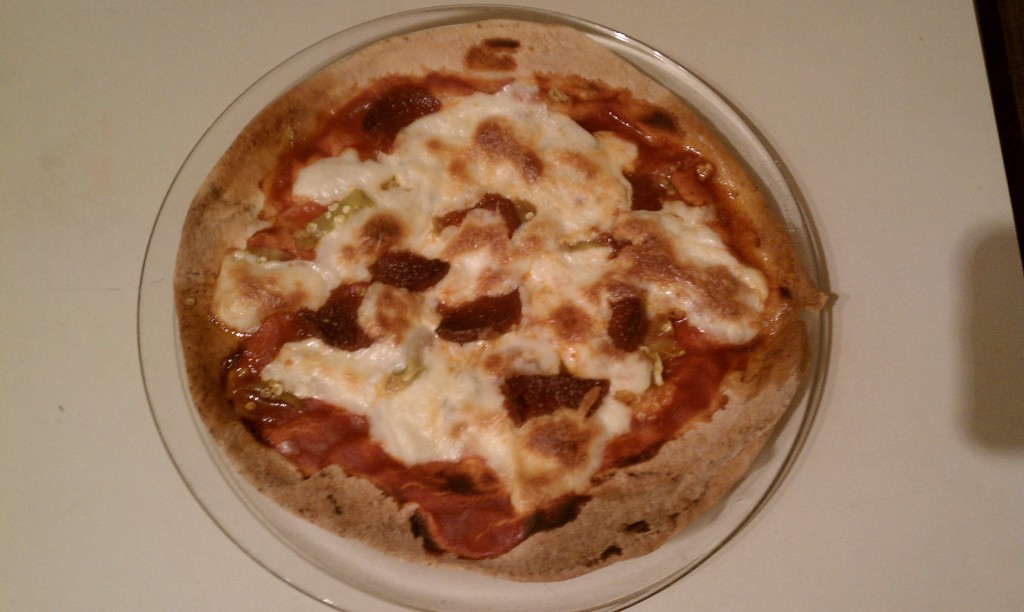
Third and Final Step – Cook ‘Em Up:
Since we’re doing this in the toaster oven as opposed to the larger one in the kitchen we’re also only making one of these at a time. I guess you would fire up the big box if you were making them for company. Having made these for some time I have found that you only need to bake them for about ten minutes at 300 degrees at the most. My toaster oven has a button that let’s you “toast” as well, and if I want the cheese a little crispier I press that but you MUST monitor its progress so you don’t burn it or anything else. This is really a quick dining fix when you add the preparation and cooking time together so don’t get involved in anything while you are making them. This is especially true if using the big oven and making a few of them for guests.
I told you this was a quick one. It probably takes longer to wash the dishes and make sure everything is put away as opposed to making this. Bon appetit.
But Ken, I’m A Vegetarian!!!!
Oh yes, you guys 

